How to retexture hairs using TSRW
I've written a tutorial on doing this through S3PE, now I'm going to show you how to do it with TSRW.
Things you'll need:
TSR workshop for opening and exporting the hairs.
An image editing program such as Photoshop or Gimp. I'm using Photoshop CS6 and I've never used Gimp but I've heard that it's similar. You'll also need the DDS plugin, the Photoshop one is here.
Textures! I use a version of Pooklets that I edited. You can find Pooklet's textures here, or you can use any that you like (assuming you have the permissions to do so). You'll also need a control, I'm using the one by Anubis, here, scroll down to the bottom of the first post to find it.
Now lately TSRW has been kinda bitchy in that it won't import all the hairs, just one or two. But hey, maybe the gods will smile upon you.
Install TSRW and your DDS plugin and your image editor (if you haven't already) and make a new folder to keep your texture/control in, so it's easy to find.
For your DDS plugin these are the settings I'm using:

Step 1:
Open TSRW

Step 2:
Click new import

Step 3:
Click browse

Step 4:


Step 5:
Click next like a thousand times


Step 6:
Wait

Hopefully your hair isn't off to the side like this one, anyway, click texture.

Step 8:
Scroll down til you find hair textures and maybe hat textures, sometimes specular hides in there apparently.

Double click the texture and then when that opens click export

Step 10:
Now you might wanna make a folder to work in, to keep your stuff organized. It's up to you though, I can't tell you how to live your life. You can also export the control if you need to, but I don't cause I'm a reckless person and no one can tell me how to live my life.
Also cause I've done this a thousand times and unless it's a complicated hair, I can usually just play it by ear, so to speak.

Pick your folder

Press save

Click OK
Step 11:
Now I'm lazy and I thought this would be a short tutorial but I'm gonna copy paste this next part from my other tutorial, so if something seems off that's why. I'll try to edit out the odd parts to the best of my ability.
File > Open >

Highlight these three files and click open. [This is assuming you exported specular, texture AND control] (You can do this by dragging your mouse to highlight them, holding ctrl and clicking on each of them, or clicking the first, holding shift, then clicking the last. Whichever is easiest for you.)
We're going to do the control first, so open your control.
Apparently the hair we downloaded up there was a retexture. If so, then I guess we are retexturing someone's retexture. What even? Oh well.

13. Click this and drag it to get a little section. Then hit CTRL + C (for copying on a pc, I don't know about a Mac)
Open your control tab for the hair you're retexturing and hit CTRL + V.

Ours is the big one in the middle. Hit V and then move it into place over one of the squares. If this hair wasn't already retextured, they'd look just like the regular textures, but you could just put them as squares over it and it wouldn't matter. Hold on a sec I'll show you what I'm talking about.

This is the control from a hair I was working on prior to this tutorial. If it's the original mesh and textures, usually it might look like this. You can still just chunk squares over it like what we're doing, it will not matter it'll all come out the same.

Hit CTRL + T and then drag the bottom up until it matches the bottom of the original, like so. Then hit CTRL + V to paste the section again and do the same for all. Cover it just like the originals.

Sometimes you might need to chop off a bit. If so, select the layer it is on, above it you should see the word 'Opacity' click that and drag the arrow to the left. When you can see under it well enough, select the leftovers with the same tool you used in step 13, then press delete.

Press delete then move your opacity back up.

Here's what it looked like at the end, after I moved/resized all the control pieces to fit their original places.
When you're done, merge all your layers by selecting the bottom layer, hitting control, clicking the top layer, and then hitting CTRL + E. After they're merged go to file > save as and save it in your
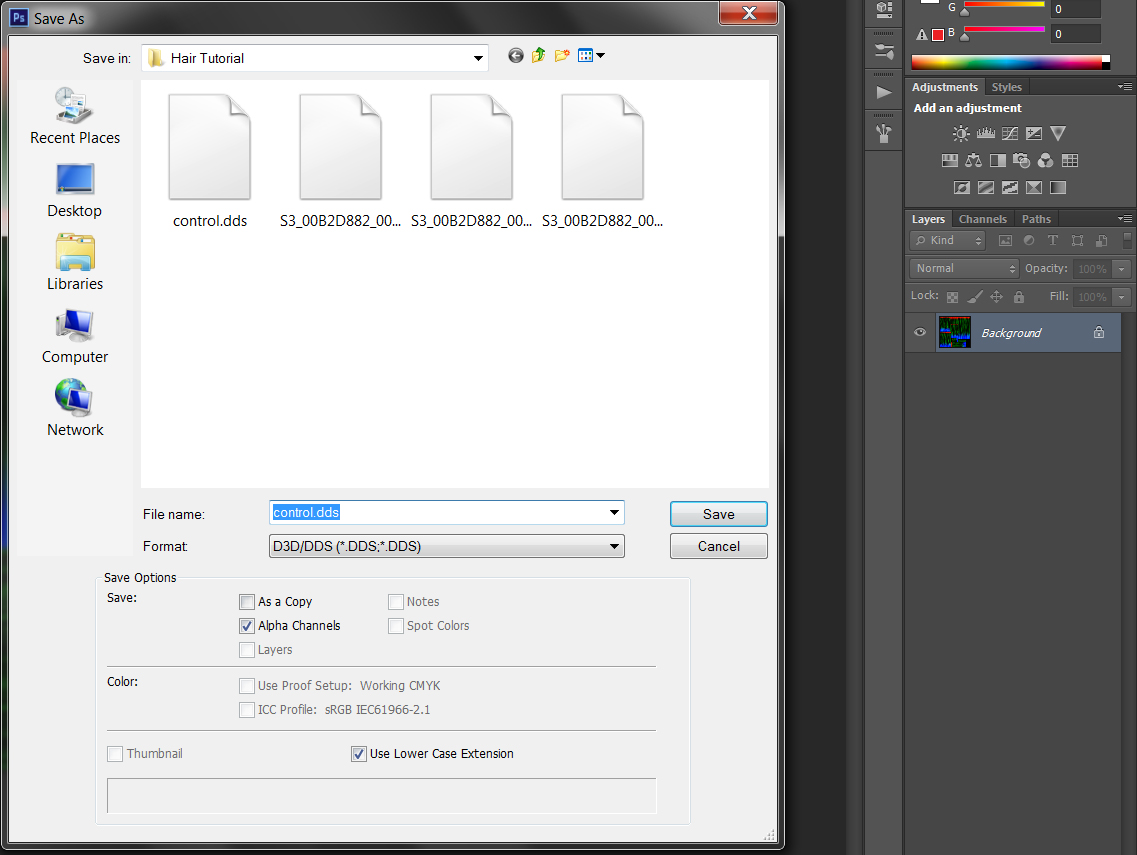
Yes I put a pic anyway because it's hard to get lost when there isn't a pic to show what you mean.
Okay, now close the control tab in Photoshop and click the texture tab.

Don't feel intimidated, this isn't even hard at all. In fact it's a tad easier than the controls. Open the texture you want to use, be it pooklet or whatever else. Then hit CTRL + A, then CTRL + C. Open your textures tab of the original texture, hit CTRL + V. CTRL + T like above, and pull it down/up to cover the whole image.

Then, we'll go over to our layers box and hit 'channels', hold CTRL and click the icon of the alpha channel.

14. Channels tab
15. Alpha icon
16. Go back to your layers tab, hit CTRL + SHIFT

Should look like this if you did it right. We're not done though so don't save it. :s
See how most of the hair is flowing up and down, but there's some that's flowing left to right? Yeah. Okay, now we're going to delete the texture of the left to right part, and do basically the same thing, but after turning it the right way.

17. Click the selection tool
18. Click the second icon up here which should be 'add'
19. Select it, press delete.

Move your textures over to it just like before, but hit CTRL + T and then move it by the corners while holding shift to make sure that it is straight. Then click the channels tab > ctrl click the alpha icon (just like before) back to layers tab, ctrl + SHIFT

Now delete the 'background' layer and go to file > save as > texture.
Don't close the texture window. Hit CTRL and click the new layer button.

21. New layer button (hold CTRL when you click it)
22. Paint fill button
23. Hit d and make sure the top one is black
24. Fill the background layer.
25. Click the top layer and hit CTRL + E to merge.
Hit CTRL + A and then CTRL + C and go to your tab with the specular on it. Hit CTRL + V and it should paste there.

26/27. Image > Adjustments > Levels
28. Move the black arrow (not the one right where the number 28 is in the pic, the one above it) until your texture is black like this one, I leave a little bit shining through on mine, do it however you like.
29. Hit OK
Either delete the 'background' layer or merge the two. File > Save as > Specular (DDS!)
> Okay that's the end of the copy/paste job from my other tutorial.
Pull your TSRW back up, and double click each thing and click import to put your new pieces in, like so:

It'll ask if you want to replace, yada yada yada, click yes.
Finally you should have them all in place.

And then you can click

Pick a place to save it, pick a name and wait for it to finish.
Bam, you retextured a hair in TSRW.
P.S. This hair showed up fine in game even though it's off to the side in TSRW for some reason.
I hope this helped and as always if you have questions/comments/suggestions you can get them to me at pixelatedzombies.tumblr.com!